
Five Ways to Make Your Felt More Sculptable (and Your Hats More Striking!)
Five Ways to Make Your Felt More Sculptable (and Your Hats More Striking!)
Creating beautiful felt hats is a true art—your hands shaping felt like a sculptor shapes clay. And the result is magic: it often surprises even the maker herself. But if you’ve ever tried shaping handmade felt into a hat, you probably know the feeling: the felt resists. It’s either too stiff or too floppy, and it refuses to take the shape you imagined.
I’ve always found this incredibly frustrating. Over the years, so many of my design ideas were abandoned—just because the felt was simply difficult to handle. That’s why I started experimenting. I wanted to understand how to change the way felt behaves—to make it more sculptable, more responsive, and easier to shape with precision.
In this blog, I’m sharing my 5 secrets for making felt more shapeable. These techniques transformed the way I sculpt my hats and helped me push past the material’s limits to create striking, refined designs.
Let’s dive in!
1. Steam is Your secret sculpting ally
One of the biggest game-changers for me was learning to steam my felt thoroughly before shaping. When the felt is warm and moist, the fibers loosen and become so much more flexible. After I started using steam, the transformation was incredible. The felt responded like clay—soft, pliable, and willing to hold folds and curves with precision and grace.
To steam your felt:
Boil some water in a large pan.
Place your felt hood in a colander (make sure the colander sits safely above the boiling water).
Slowly rotate the hood to expose all sides to the steam.
Steam thoroughly for 5 to 10 minutes.
Let it cool just slightly—enough so your hands can comfortably handle it—and then start shaping.
Experiment with steaming and feel how your felt comes alive under your hands. It’s an essential step if you want sculpting to feel fluid and intuitive rather than stiff and frustrating.
2. Aim for a Dense Felt Structure
Did you know that the structure of wool fibers—like their crimp and micron count—affects how sculptable your felt is? Here’s the secret: blending fibers with different crimps and micron counts (for example, 19 to 27 microns) increases the sculptural qualities of your felt.
If your felt is too airy or spongy, it’s harder to form crisp folds or details. A denser felt might feel stiffer at first, but it holds shape beautifully and gives you more control. The right blend creates felt that’s firm enough to structure, yet soft enough to sculpt—a perfect balance of strength and flexibility. Don’t be afraid to create your own fiber blends—experimenting is a wonderful way to discover what best supports your design ideas!
3. Prime Your Felt Before You Sculpt
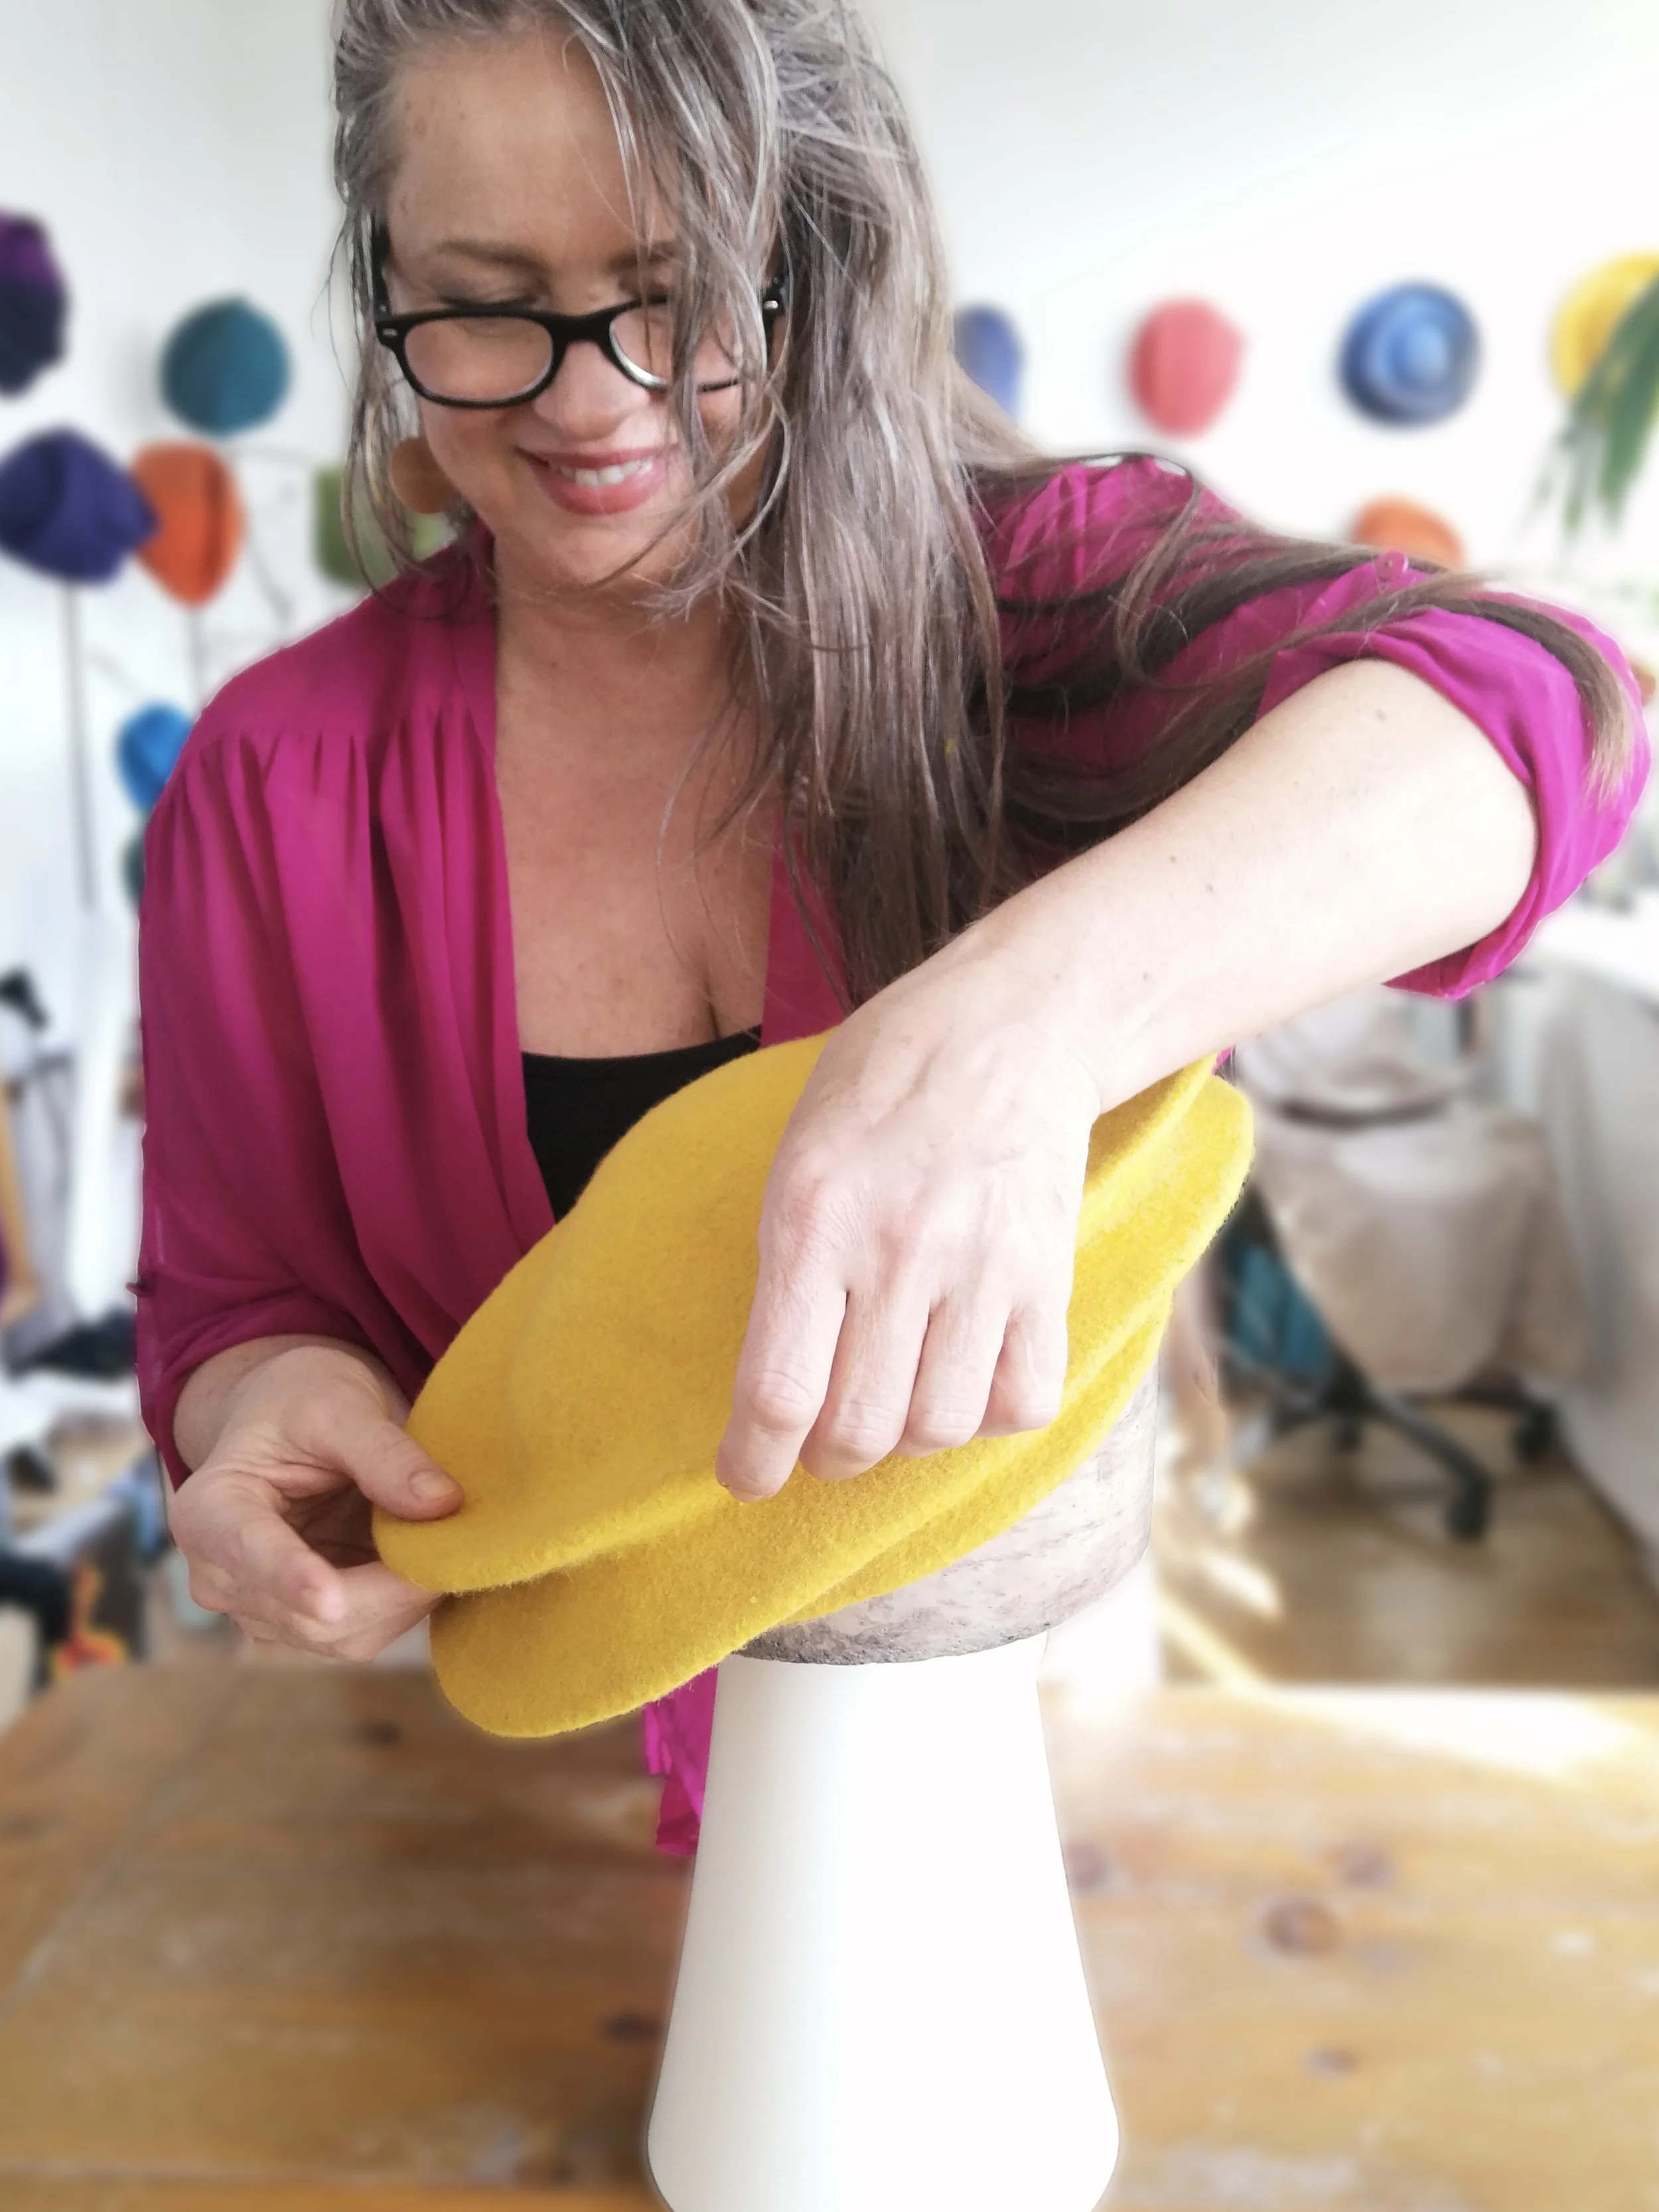
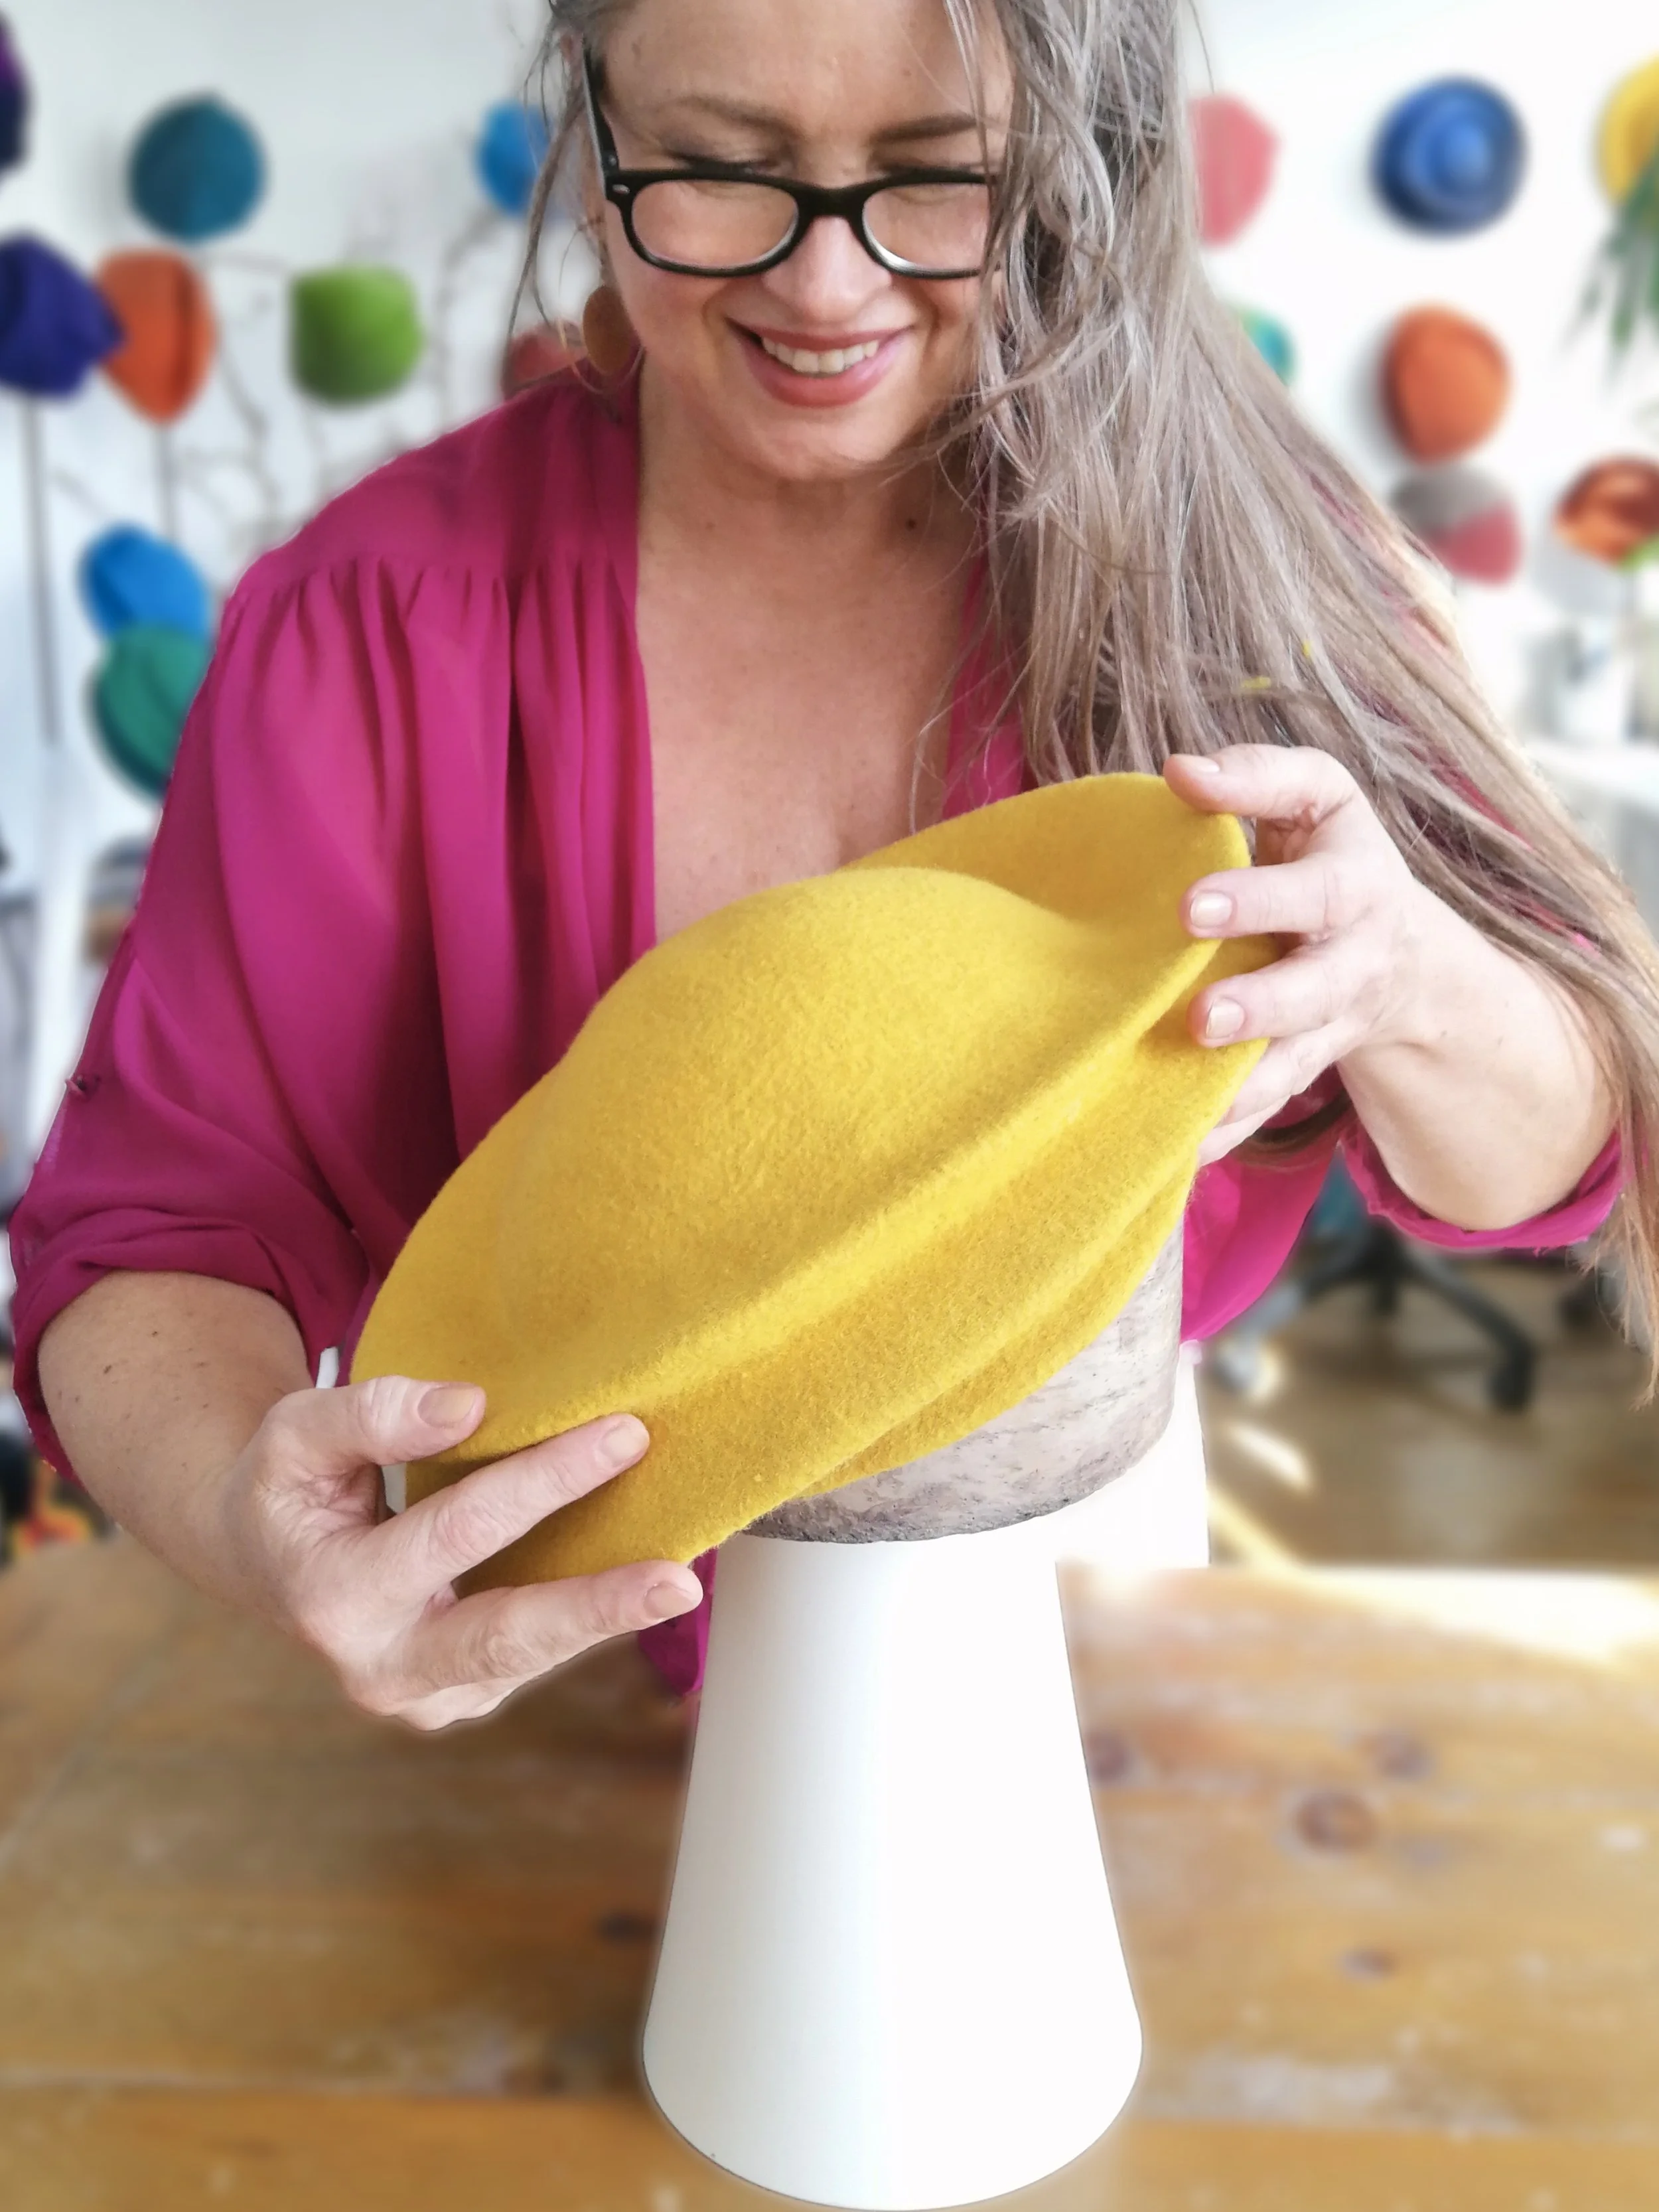
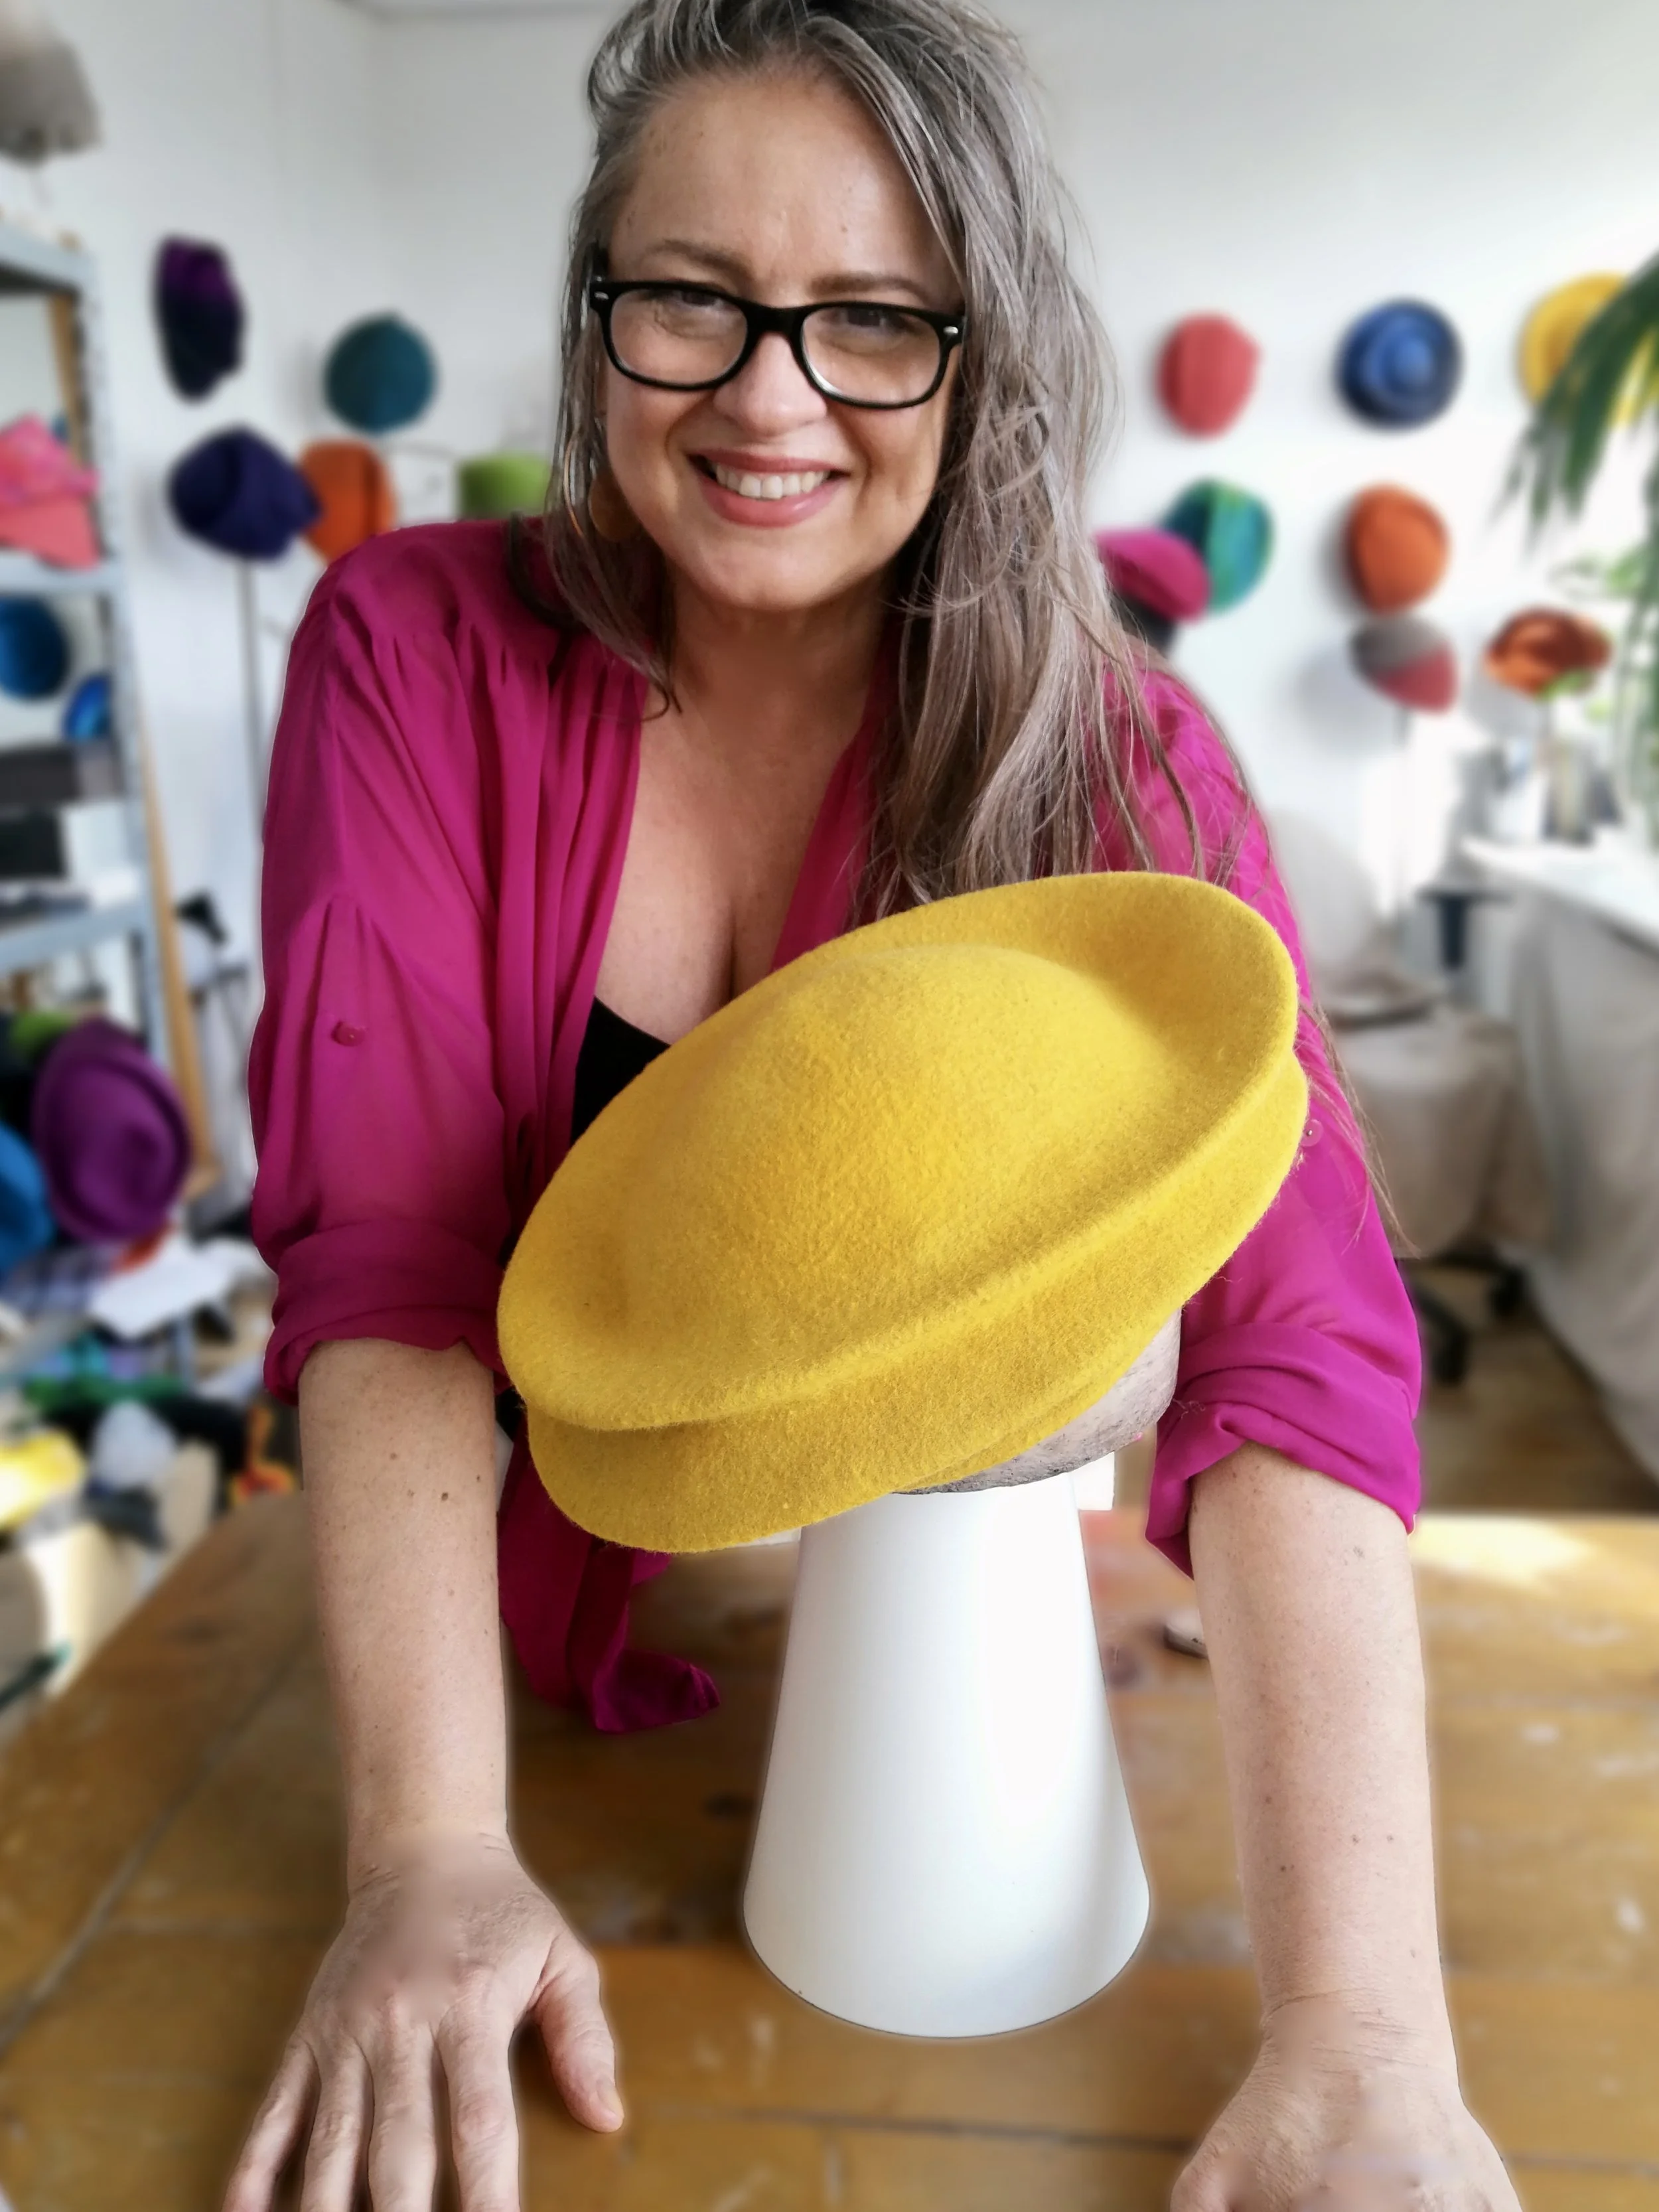
Don’t jump straight into shaping right after fulling. Just like a painter primes their canvas, your felt needs a bit of preparation to respond beautifully to sculpting. Before creating any folds or definition, block your felt on a round hat block—not to form a specific shape, but to gently stretch and smooth the surface. This step evens out the felt, helps eliminate irregularities, and sets you up for more precise, flowing sculptural work.
Place your hat block on a stand (or use something like an upside-down flower pot to elevate it), then gently pull and stretch the felt over it, making sure the tension is even across the surface. Once the felt is smoothed and balanced, remove it and begin shaping as you normally would. This simple “priming” step can make a big difference in the quality and control of your final design.
4. Knead Your Felt Like a Ceramist Prepares Clay
Just like a ceramist kneads her clay before throwing a pot, we need to knead our felt before shaping. This simple technique increases the density and smoothness of the felt, making it more responsive and easier to sculpt. It may shrink a little during this process, but don’t worry—you’ll be able to stretch it back over a hat block as described in Tip #3.
Here’s how to knead: place your felt flat in front of you, grab the top edge and fold it back into itself. Press down gently, place your palm on the crease, and roll it away from you until the felt lies open again. Rotate and repeat this motion from every direction. This not only conditions the felt but also helps you connect with the material before sculpting truly begins
5. Use Less Soap and Water in the Final Stage of Fulling
During the last 10 minutes of fulling your felt hood, try using very little soap and water. This increases the friction as you work the felt, helping to even out and flatten the surface while making the felt denser. A smoother, firmer surface is much easier to sculpt and holds its shape better. This small adjustment can make a big difference when you're ready to form your final hat design.
Important: Before you start sculpting, make sure to rinse out the soap from your felt

Final Thoughts…
I hope these five tips help you experience more ease, joy, and creative flow in your hat-making journey. Try them out, experiment, and most of all—trust your hands, your eyes, and your artistic instincts. Even small adjustments in how you treat your felt can make a big difference in the final result.
💫 If you’d like to go deeper, I’d love to invite you to my free online workshop:
Three Secrets That Will Transform the Way You Make Hats
New to hat-making or ready to level up your skills? Either way, you won’t want to miss this workshop! I’ll be spilling my best tips and secrets to help your hats look elegant and polished!